

Method 1 Add logo or watermark on PowerPoint 2010
If you're using PowerPoint 2010, you can add watermark on the slides at ease.
Step 1 Open the PowerPoint presentation. Click View and then choose Slide Master.

Step 2 The screen will defaultly show the second slide. Remember to scroll it to the first slide otherwise you'll fail to add watermark on all slides. Click Insert tab to put a Word or picture on the slide.

Step 3 Add a Word as watermark. Click the WordArt button and choose a designed style. You can simply adjust its position and edit text. More editing functions can be found under the Format tab.

Add a picture or logo as watermark. Click the Picture button and choose a suitable picture from your folder. Size and position of the logo can be adjusted manually.

Step 4 After the watermark insertion, just click the Slide Master tab and choose Close Master View to return.

Done. Now you can see the watermarks ( both word and picture) are successfully added to every slide of the PowerPoint presentation.

Method 2 Convert PowerPoint to video with watermark
Do you notice some of the online videos, especially movie clips are watermarks added? Considering that it's more difficult to remove the watermark from a video than that of a slide, for the sake of safety, it's not a bad idea to convert PowerPoint to video format. Additionally, words, pics and other elements will become uneditable neither.
Before the conversion, we need to install PPT to Video Converter, a free download tool that enables to convert PPT files to different video formats with customized picture watermarks.
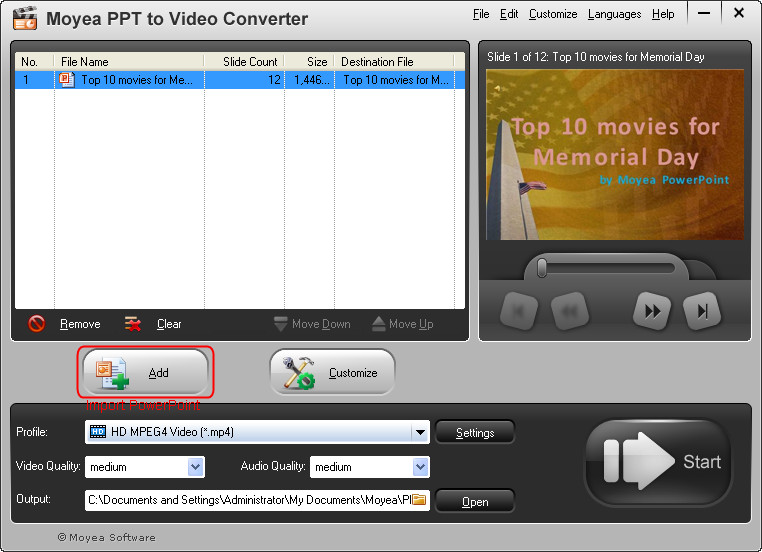
Step 1 Download, install and launch PPT to Video Converter. On the main interface, click Add button to import the presentation.
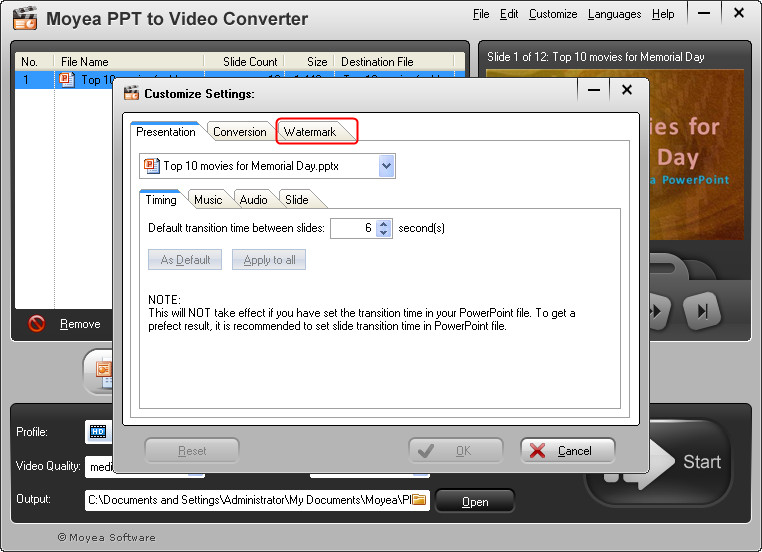
Step 2 Click Customize button, a new window named Customized settings pops up. Click Watermark tab. Another window called Logo & Video Layout appears.
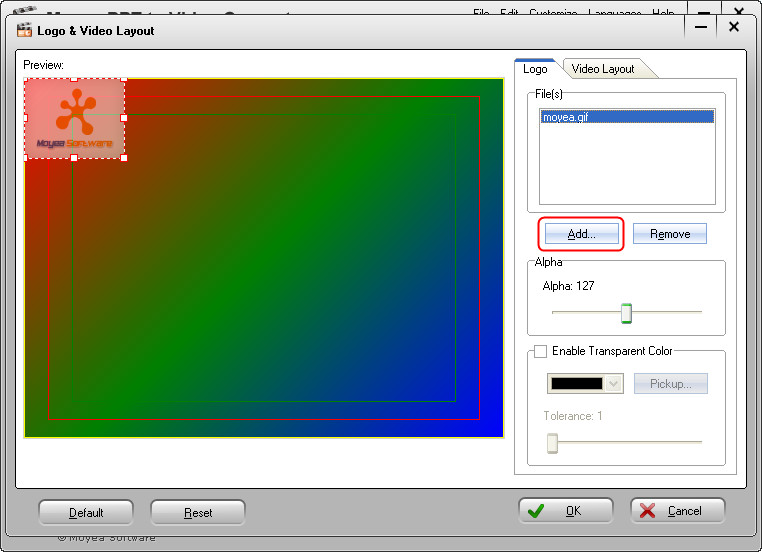
Margin Size, Margin Fill and Color are also editable. If everything is OK,click the OK button to confirm and return to main interface.

Step 4 Click Profile drop-down menu as well as Settings button to set the output video format. Make sure the converted video can be played on your device perfectly.

Step 5 Click the Start button to start the progress. When it's finished, you can play or share the video with watermark as you like.
Related article:
2 Methods to Add Watermark to Christmas PowerPoint